You can build a PC with just a screwdriver on hand, but you’ll have an easier time of it if you have all the essentials available. That includes computer tools to get you out of sticky spots, which always occur when you assume they won’t. Keep these 10 items around and they’ll keep your PC building woes to a minimum.
We’ve divided the list into the absolute computer toolkit essentials (for the minimalists out there) as well as our recommended additions for a well-rounded suite of PC building tools. But really, there’s no need to scrimp. All of these tools are very affordable. Our guide to how to build a PC can help show you how to put those computer tools to work, while our primer on how to set up your PC the right way explains how to get the software side of things in order after you’re done cobbling together your creation.
To see our PC building antics live as they happen, subscribe to PCWorld’s YouTube channel.
What tools do you need to build a PC? The basics:
Screwdriver (Phillips #2)
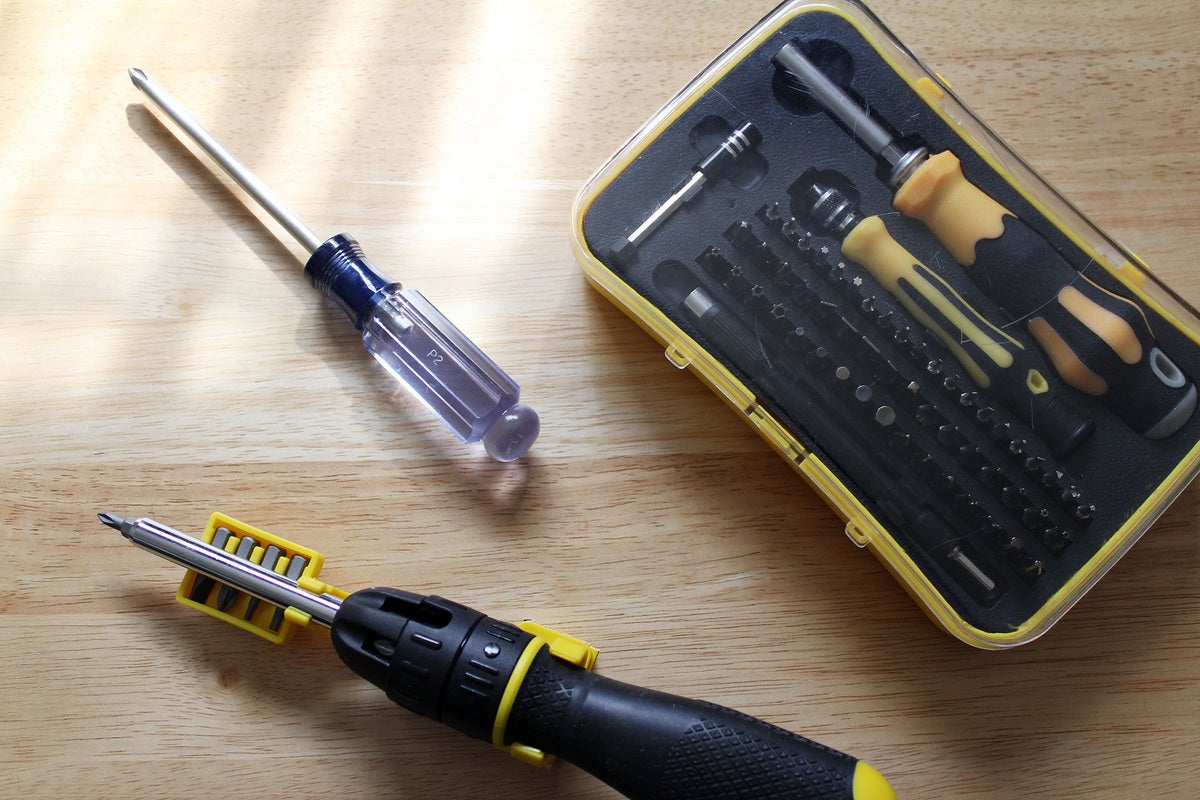
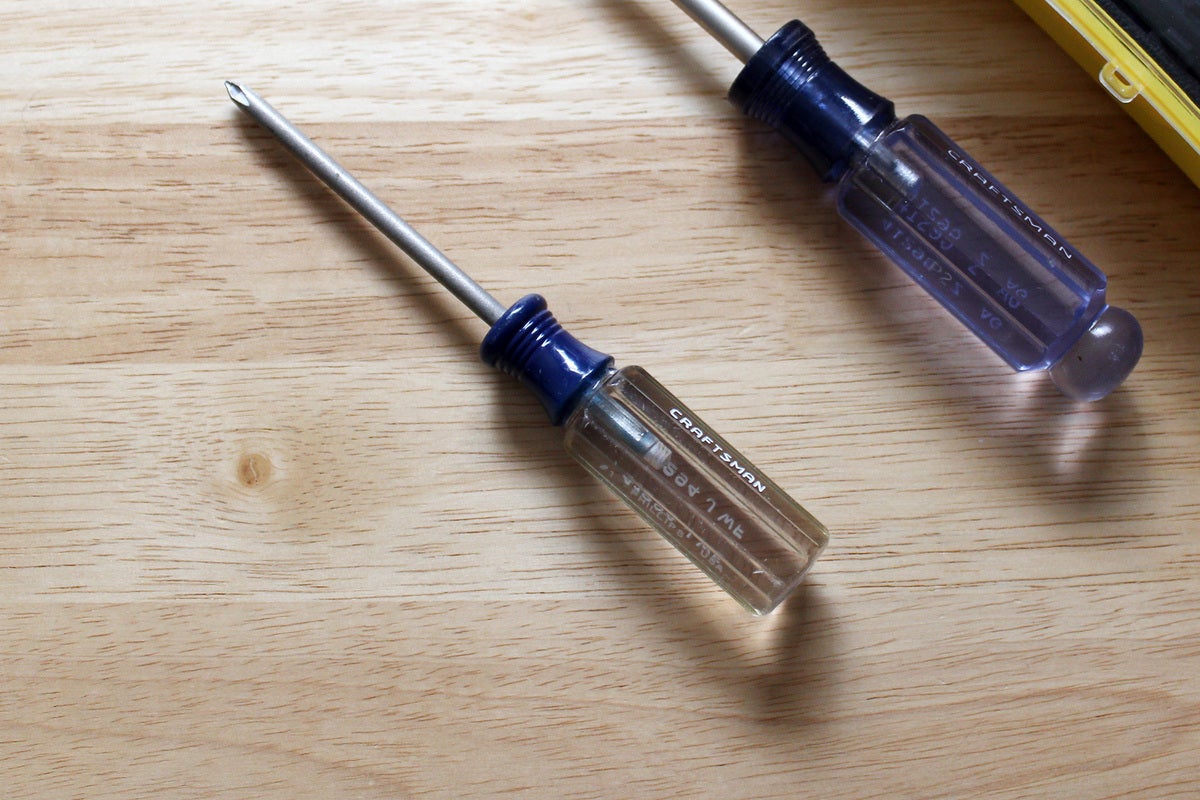
Phillips #2 screwdrivers in various forms. We recommended getting a magnetized version (or magnetizing a standard one).
Nearly all screws in a computer case require this cross-head screwdriver. Any Phillips #2 screwdriver will do—be it the plain, trusty Craftsman in your toolbox, the fancier ratcheting type with swappable bits, or kits with a full array of bits that include a PH2 head.
We highly recommend getting a magnetic screwdriver, or buying a magnetizer to convert your existing tools. You can get a magnetic screwdriver kit with interchangeable bits for quite cheap, usually around $15. Regardless of what you choose, this purchase will save you the time and hassle of fussing with screws that refuse to stay put as you attach them and / or that fall into hard-to-reach places.
Should you have hand injuries or tendonitis, look into ratcheting screwdrivers, which help reduce fatigue. For more torque, get a screwdriver with a fatter handle.
Screwdriver (Phillips #1)
Adding an M.2 SSD to your build or laptop? You’ll need a Phillips #1 screwdriver, as a Phillips #2 will be too large for the screw drive (the indentations on the screw head used to turn the screw).
Since M.2 SSD mounting screws are delicate, you won’t need much torque to get them in or out and thus a slender or small screwdriver works fine. You should get a magnetized one though, as screws that take a Phillips #1 tend to be small and easy to lose track of.
Builds that don’t use any M.2 SSDs can get away with just a Phillips #2, but we’ve found that it never hurts to have a Phillips #1 on hand.
Screw tray
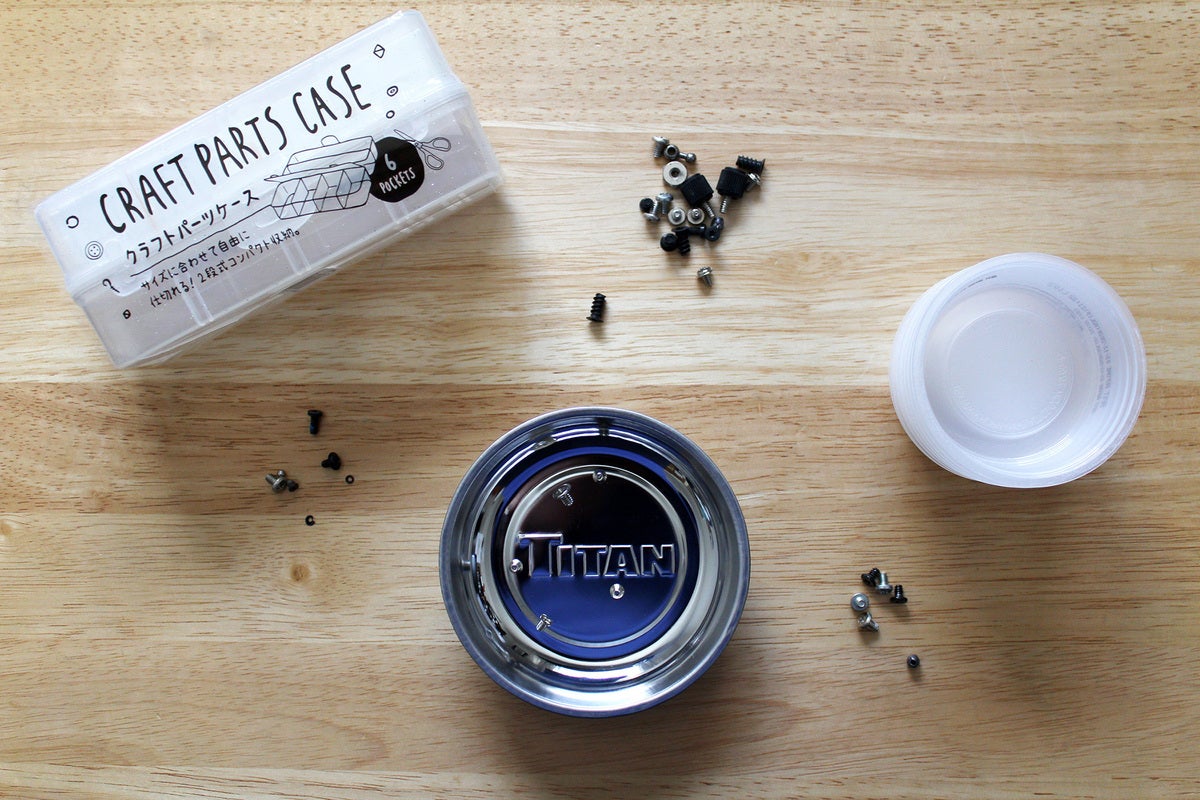
You should put screws in some kind of container as you work—a shallow dish or bowl, a tray, even a cup. (Using more than one is even better, as you can keep track of different screw types more easily.) Placing everything loose onto a table usually results in missing screws, while clothing pockets run the risk of screws becoming lost as you move around.
For a more tidy solution, use a clear pill case or a bead organizer to hold and store screws. They range from $2 to $7 in price, take little space, and let you see everything at a glance. If you have a fixed work area, you can instead opt for a larger hardware organizer, which will have multiple small drawers. Leave one or two compartments free for dumping in screws as you build.
You can also buy a magnetic tray or a magnetic mat if you’re concerned about knocking items around on a work surface (or have a standard-issue cat that pushes items off tables). These run between $6 to $10.
Hex nut driver
If not tightened down sufficiently, motherboard standoffs can come loose as you try to loosen the screws holding the mainboard in place. The screw remains tight within the standoff, however—leaving you in purgatory until you can keep the standoff still as you remove the screw. In fact, further down this list are tools to help fix that common problem.
Our recommendation
TEKTON 5 mm High-Torque Nut Driver | 26882

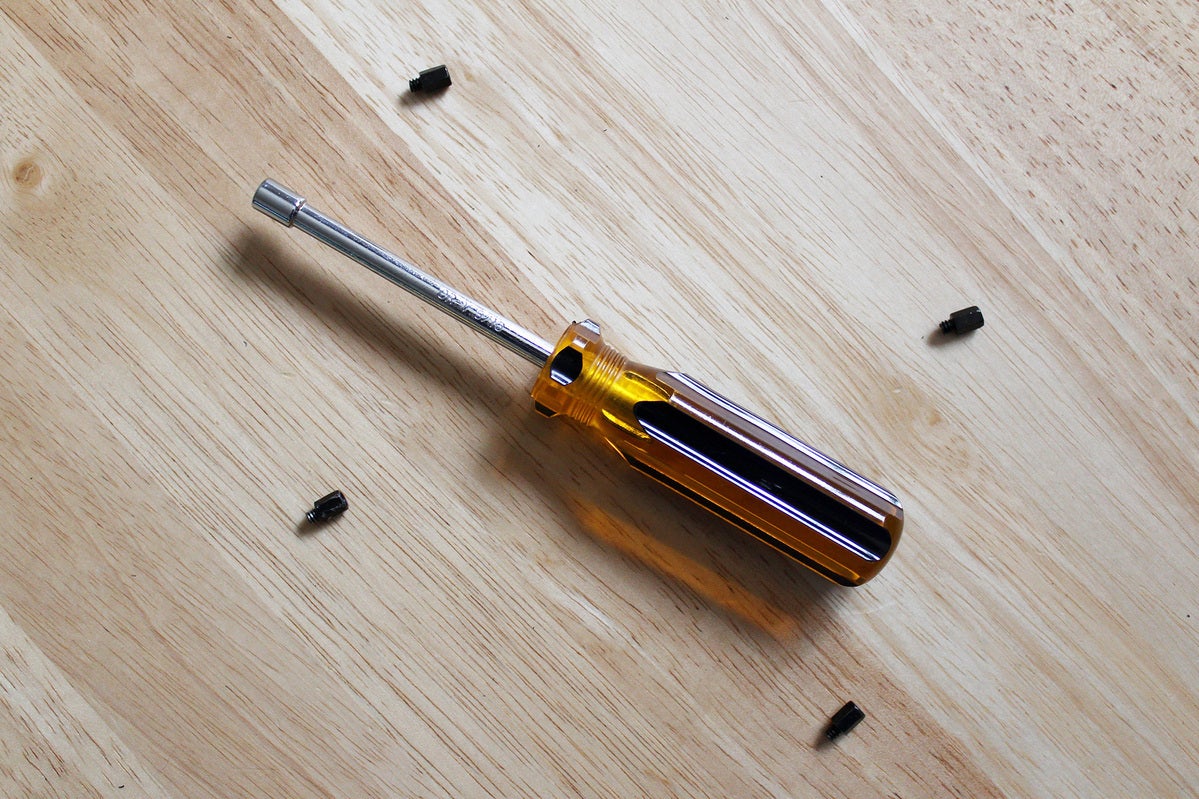
But if you own a hex nut driver in the right size, you can avoid that time and irritation. Before you mount the motherboard, slip it over the standoffs and ensure each one is firmly attached to the case. No need to overtighten, either; just a bit past when the standoff first hits the metal of the case. Too much and you risk stripping the screw threads on the standoffs.
Think a spinning standoff will never happen to you? Readjustments can come up during building. Also, later maintenance on your system may require it. Believe us, nothing stokes deep rage like when a standoff gets stuck as you try to remove a mobo for an RMA return.
Some cases come with an accessory—a small metal piece compatible with a Phillips #2 screwdriver—that fulfills this same role, but not all do. You may also have a bit like this in a screwdriver kit you already own or will be buying (look for the M5 size).
If neither apply to you, you can purchase a standalone 5mm hex nut driver. It will work with the two most common sizes of standoffs, though the smaller size will be a tad loose. (For a perfect fit, also purchase a 3/16-inch hex nut driver.) You may want to grab these regardless of what you already own, as the larger grip on a standalone hex nut driver makes tightening or loosening the standoff easier.
Already have a small adjustable wrench in your toolbox? That works too, though it’s more awkward to maneuver than a hex nut driver.
Flashlight or headlamp
Our recommendation
PETZL, TIKKINA Outdoor Headlamp with 250 Lumens for Camping and Hiking, Black

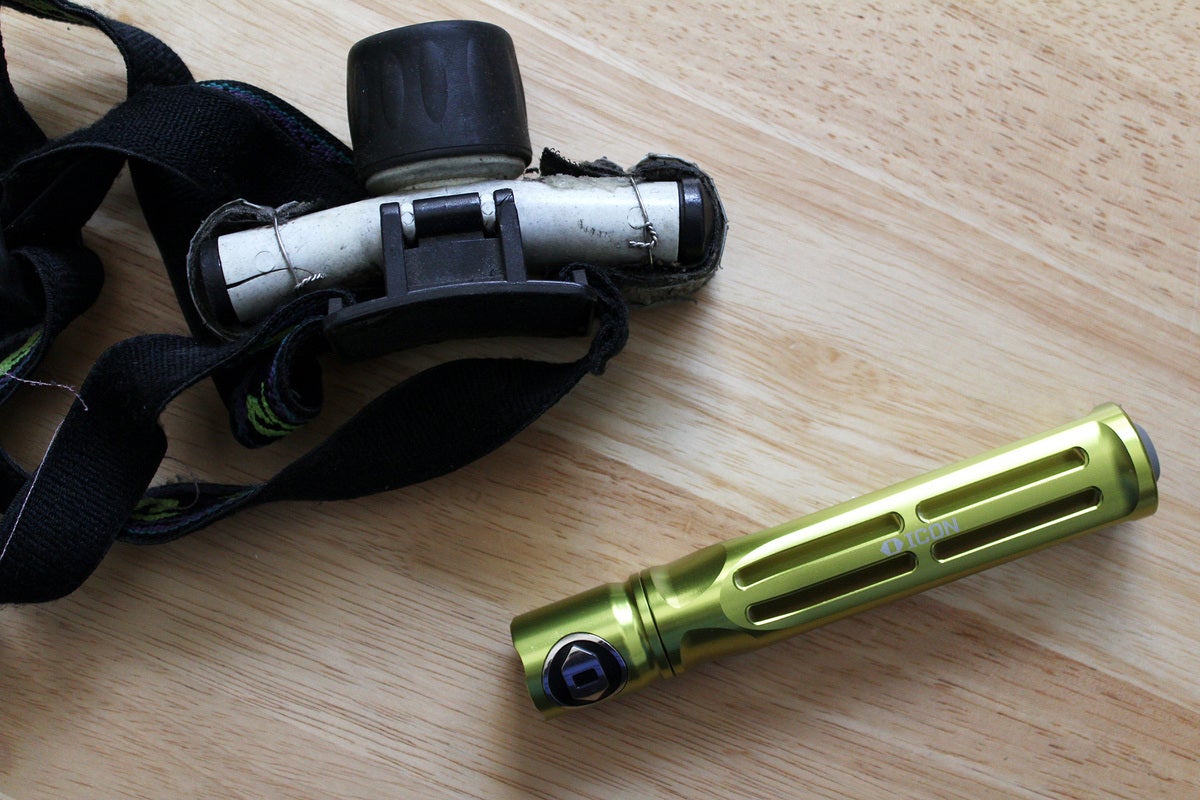
Normal lighting can create shadows that reduce what you can see while working in a case, especially if it’s a dark chassis. A good flashlight makes clear where stray screws rolled, the labels on front panel pins, and where that one last screw hole on the mobo is. You can get an
Login to add comment
Other posts in this group
Will your laptop recognize you in the dark? Maybe. Maybe not.

It’s been a rough month or so if you’re looking for an affordable lap

A new attack on the TPM security module inside many popular Ryzen pro
Lenovo’s groundbreaking ThinkBook Plus Gen 6 laptop, with a screen th
