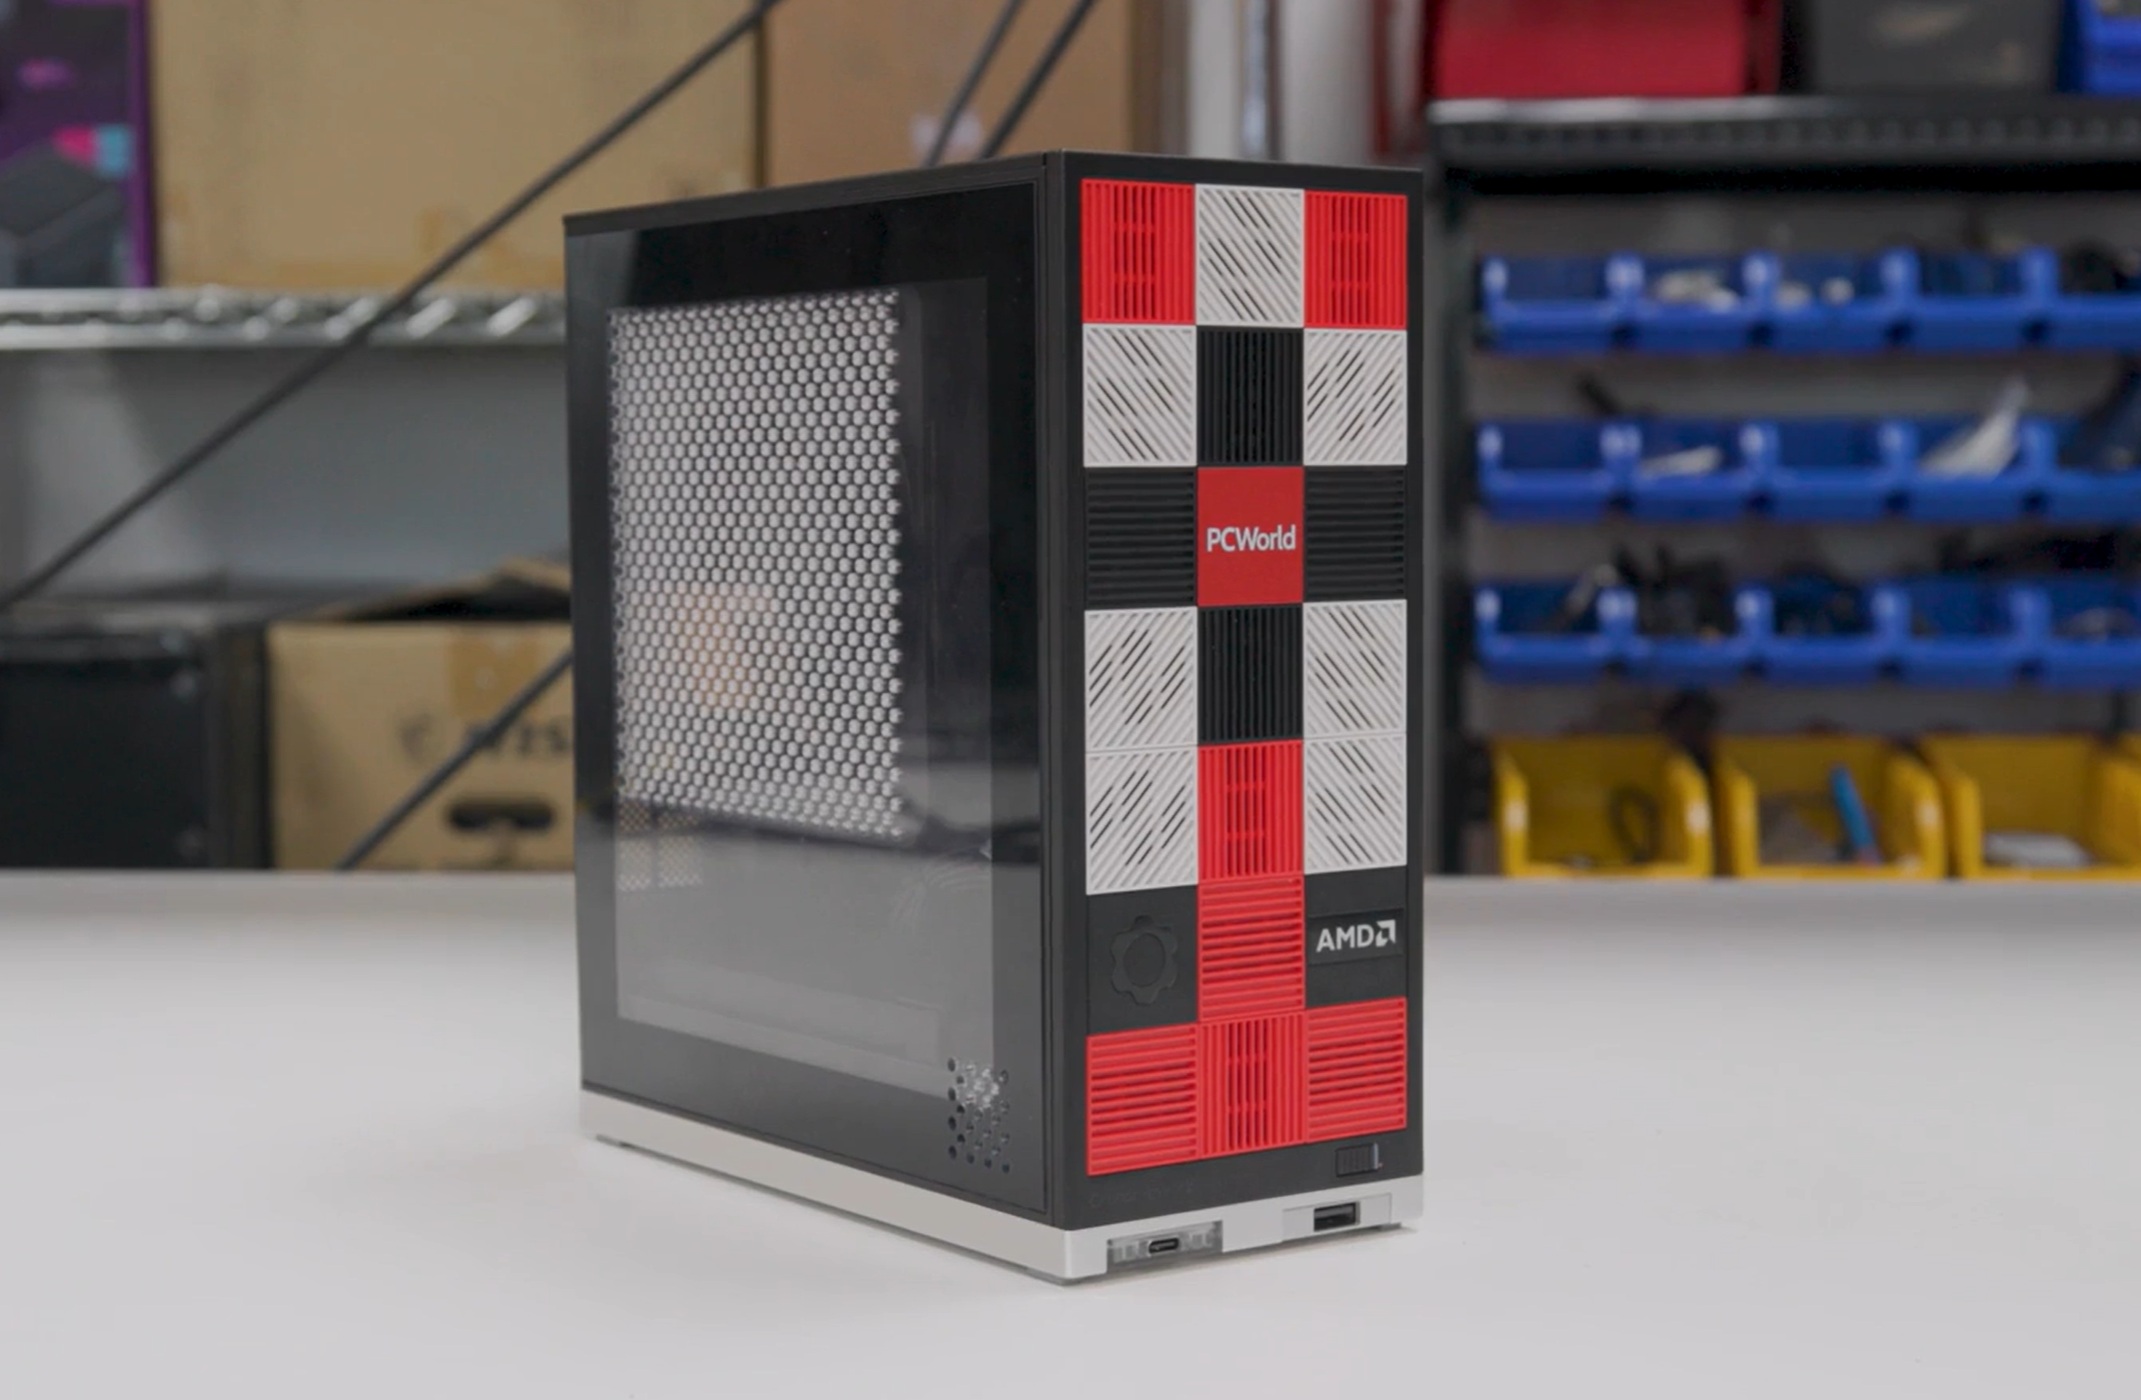
This may come as a surprise: Though I work at PCWorld, I don’t build computers.
Well, I can. I have. But it’s one thing to buy a few thousand dollars’ worth of parts and then
Enter the Framework Desktop. If you have the time, money, and desire, you can build a desktop PC from scratch! It’s fun and rewarding. For the suburban parent who will happily change their wiper blades but not their oil, the Framework Desktop offers configurability for little effort. Building an Ikea bookshelf is complicated compared to this.
Framework has sold multiple generations of its laptops, all with the same goal in mind: offer the flexibility of a desktop, but inside a laptop form factor. But a desktop poses a different challenge: How do you keep up with a desktop that is already configurable almost down to the screws? Here, I would say that Framework dodged the question. But that’s kind of immaterial, since the result is a highly detailed, simplified process of putting together a desktop PC.
The easiest Desktop you'll ever build
The Framework Desktop ships in either a pre-built or DIY Edition. I reviewed the latter, and you’ll see more photos and a performance evaluation in a separate article. This story focuses just on the build process, to show you what it’s like to put it together. And it doesn’t get easier than this.
Building the Framework Desktop: Out of the box
I remain convinced that two opposing forces are always pulling on my psyche: my father’s German ancestry, which finds a deep satisfaction in engineering and then executing the proper solution; and my mother’s Irish roots, which simply asks the question, Does it work? If the answer is yes, then it’s off to the pub. Framework satisfies both.
Mark Hachman / Foundry
For one, Framework has the most well-documented manual I can recall seeing. And that’s weird, because the DIY Edition requires hardly any effort. There’s so little “D” in the “I,” I almost wanted more. Even Framework says that putting it all together should take about 45 minutes. That seems insanely long. I took about 30, not only because I was worried I’d make a mistake but also because I have the manual dexterity of a golden retriever.
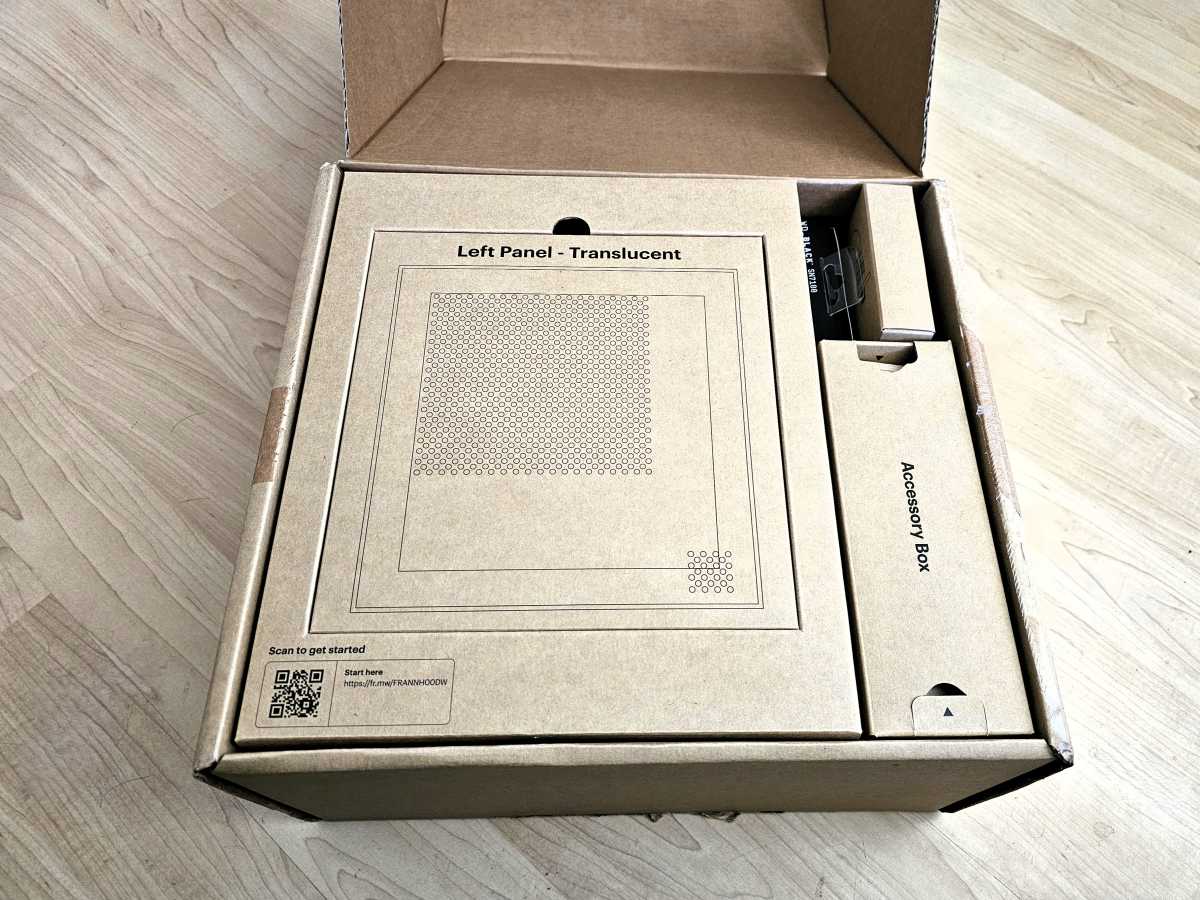
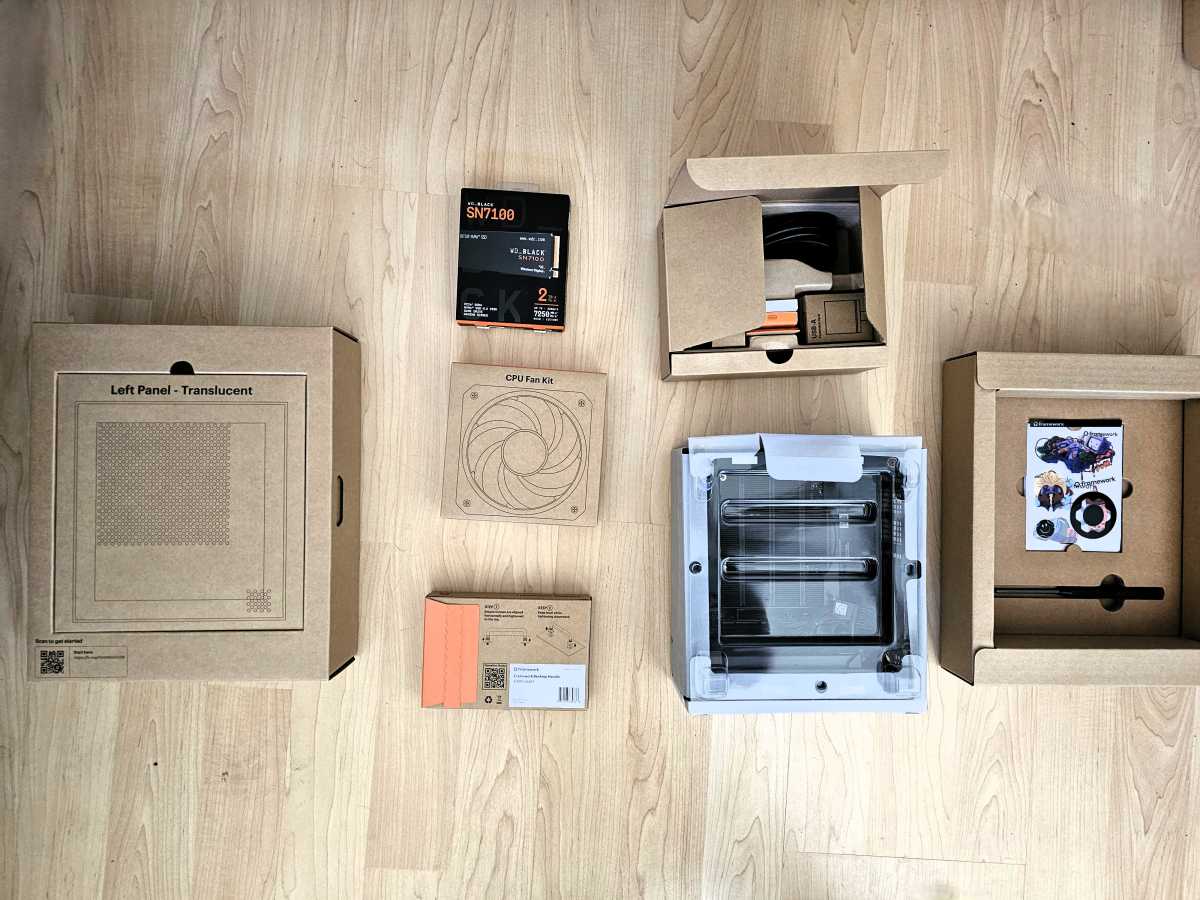
Essentially, the DIY Edition is a flat-packed PC. All of it ships inside a box, inside which are more boxes: the case, the CPU fan, the side panel, colored tiles, an SSD (assuming you ordered one), the power cable, and that’s about it. Ikea provides an Allen wrench; Framework gives you a long two-headed, reversible screwdriver with a Torx and a Phillips head.
On one of the boxes is a link to the manual, which you can leave open on your phone or tablet. (You can follow along what I did, here.)
Mark Hachman / Foundry
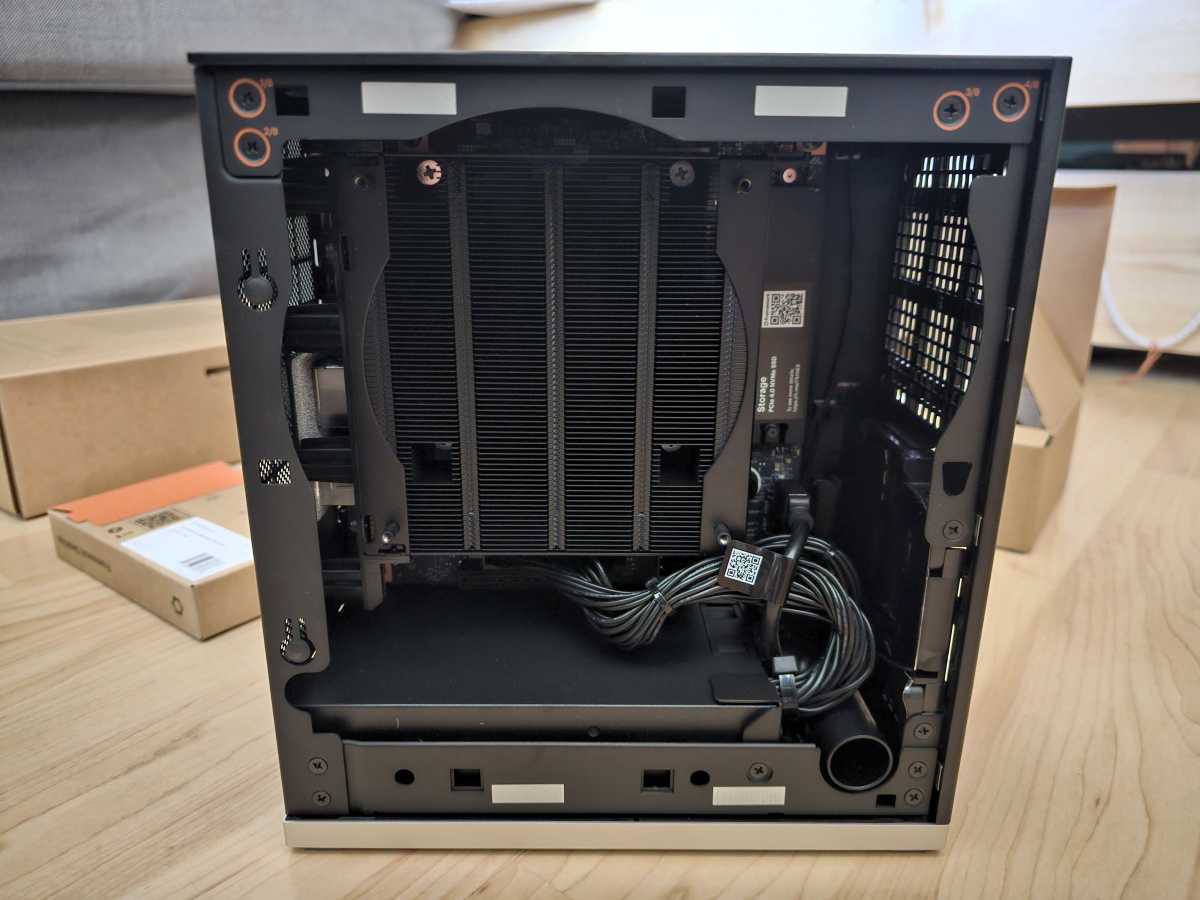
Each step is almost excessively documented, with multiple photos describing each of the 45 steps. But wait: Framework devotes four steps simply to unscrewing each of the two thumbscrews on the top of the Desktop and removing the top panel. Building a “normal” desktop involves buying a CPU, applying and spreading thermal paste, affixing a cooler of some sort, and more. There’s none of that here. Not only is the CPU already affixed to the motherboard, but Framework pre-installs the motherboard and memory, which comes soldered down.
Really, the entirety of the building process involves screwing on the 120mm CPU fan with four screws, plugging it in, inserting the SSD and replacing the heat spreader…and that’s it. The remainder is simply opening up the case, closing it, and installing Windows. That actually takes the most time, as Microsoft downloads updates that can take a while to install. (Framework doesn’t supply an SSD with Windows pre-installed, though it will sell you a Windows license to install yourself — there’s another, well-documented guide to do so.)
Virtually all of the hardware also comes with little visual cues: an arrow pointing to the proper position, plus actual “Top” and “Bottom” labels etched into the plastic or metal itself. That’s not necessary, but so very reassuring if you’re uncertain about what you’re doing.
Mark Hachman / Foundry
Finally, don’t forget the USB-C expansion cards that plug into the chassis base, or the tiles that allow you to customize the front to your own aesthetic. I’ve never been a fan of laptop stickers, but the tiles (with small vents for airflow) are something I didn’t think I’d appreciate as much as I do.
Building the Framework Desktop: What I didn’t like
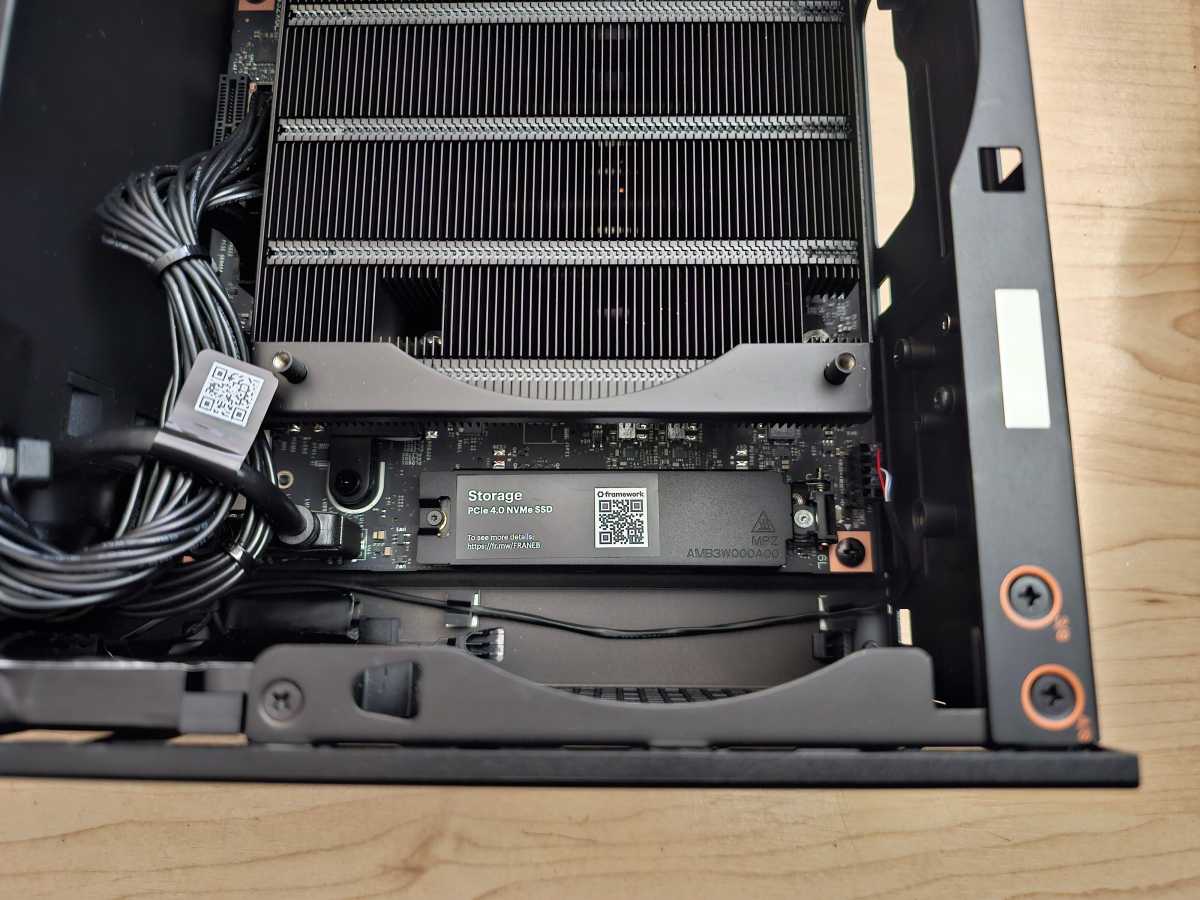
Not everything’s perfect. If I were building a PC, I’d prefer to install the SSD into the motherboard, and then the motherboard into the case. Framework asks you to do the opposite. What that means is that you’ll need to unscrew the heat spreader, allowing it to pop up, then insert the SSD, all by poking and prodding at the M.2 slot, way at the bottom of the inside of the case.
Mark Hachman / Foundry
That led to a minute or two of chasing the tiny Torx screw around the case after it popped out of the heat spreader and rolled around, until I fished it out with a tweezers. Framework’s screwdriver is very slightly magnetic, enough that it can barely hold the screw in place while I lowered it into the case. I was very much reminded of playing Operation while trying to line everything up.
(Framework also solders down the memory, so that you can’t install, replace, or upgrade it.)
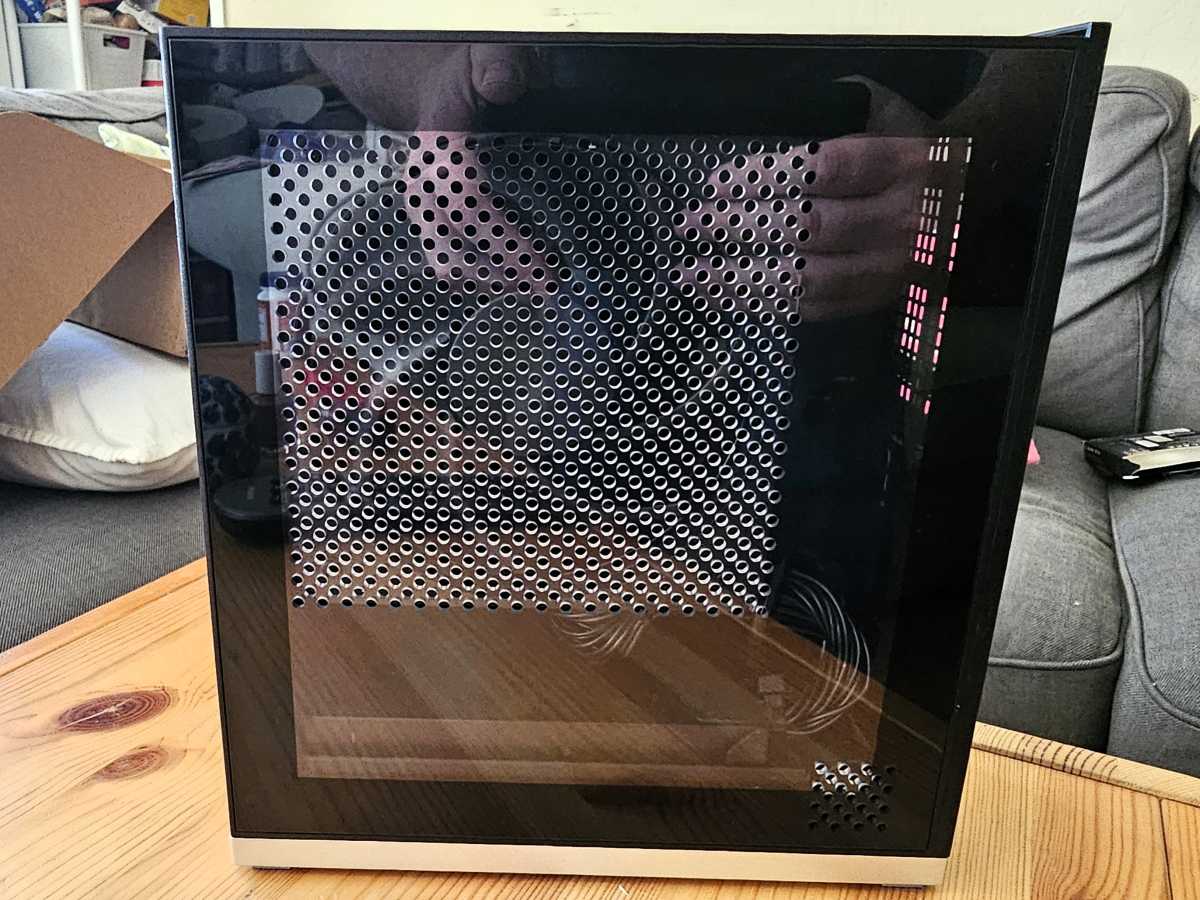
Framework’s Desktop also includes an optional secondary slot for additional storage on the back of the motherboard, accessible via its own side panel. That panel, like the plastic panels you see here in my photos can be removed easily just by pulling them slightly out and upwards.
Mark Hachman / Foundry
I also wasn’t totally pleased by how the top panel clips on to the case. On one try, it would clip in easily; on another, it would simply refuse to line up properly for a few minutes. Thankfully, we cut that portion from our associated YouTube video, where I’ll give you another look at what’s inside the case and how the Desktop performs overall.
Aside from a few moments of feeling like an idiot, I had no issues putting the Framework Desktop together, and I doubt you will, either. The handholding this company is willing to do should make you feel like you’re well taken care of.
Melden Sie sich an, um einen Kommentar hinzuzufügen
Andere Beiträge in dieser Gruppe

Windows Explorer has always seemed like a part of a small car’s toolk

The best home security camera is one that you can set up in minutes a
Samsung has an insanely large 57-inch gaming monitor with impressive

In a move that surprises no one, Microsoft continues to annoy its use
If you’re looking to upgrade your home office computer, then your bes

Despite ever-improving junk mail filters and more sophisticated defen

