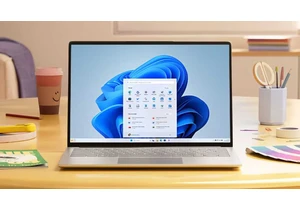
If you’re into trying out new AI tools, you’ll dig this– the latest Windows 11 24H2 update brings some cool upgrades to the Photos app. Microsoft added AI-powered editing that makes touching up your pics super easy.
One standout feature is the “Restyle Image” option. It lets you apply different artistic styles to your photos. For example, transforming your photos into lovely watercolor paintings. This feature really opens up a whole world of possibilities. In the following sections, we’ll show you how to use each of them step-by-step:
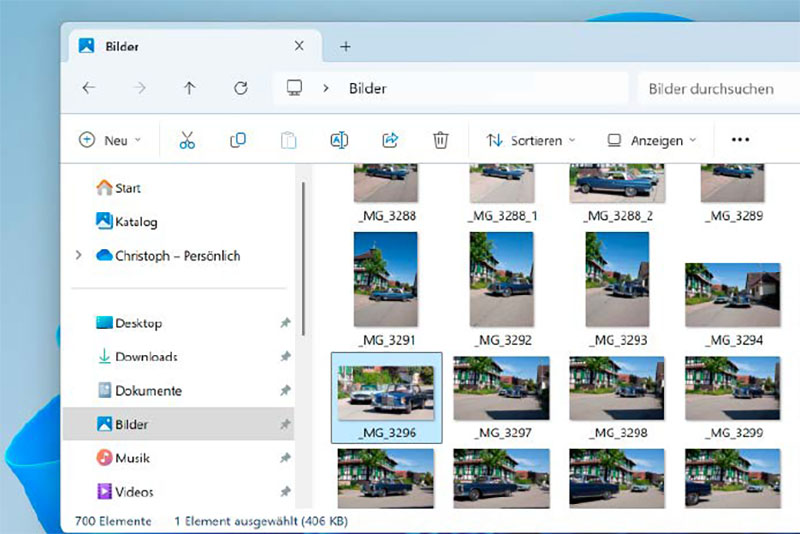
1. Opening the photo viewer
First, open Windows Photo View. You can do this by searching for it in the Start menu or by double-clicking a JPEG or PNG file in File Explorer.
IDG
2. Open photo
The photo will appear in a single view. Here, you can use the left and right arrow keys on your keyboard to browse through other images in the same folder. Use the zoom slider at the bottom of the window to zoom in and out of individual pictures.
IDG
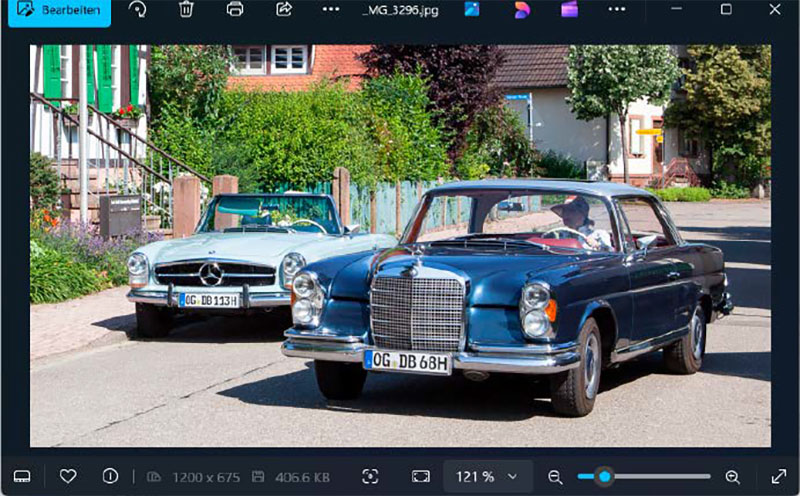
3. Switch to edit mode
To enter edit mode, click the “Edit” button at the top of the Photos app. Copilot+ PCs will have an “AI” button on the far right of the toolbar, which offers AI-powered editing tools that will restyle your photo or remove unwanted elements from the background.

IDG
4. Using the AI function
When you click on the AI feature for the first time, a prompt will guide you through the process. You’ll need to sign in with your Microsoft account to use it, though. If you don’t have a Microsoft account, the prompt will offer an option to create one.
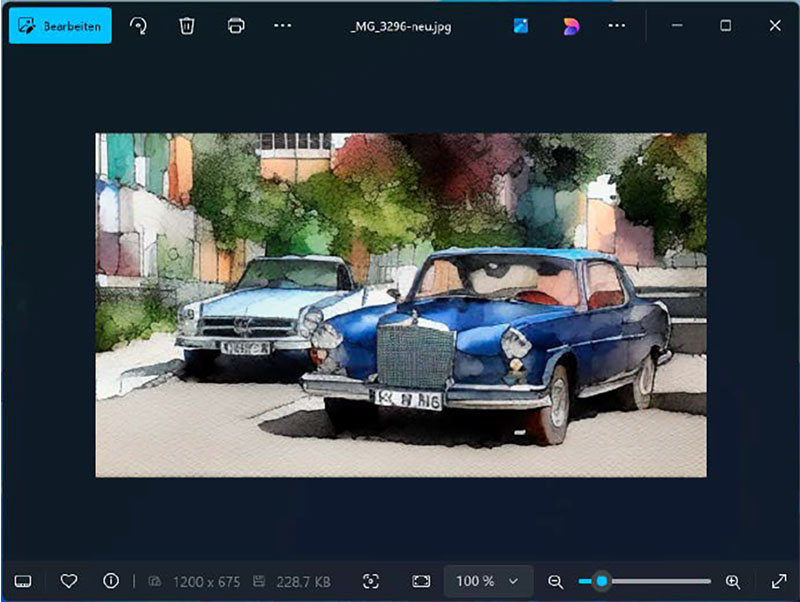
5. Change style
In edit mode, you’ll find loads of various design options on the right-hand side of the window. Choose from styles like “Watercolor” or describe your own style. Moving the creativity slider (as illustrated in the below photo) to the right results in more dramatic changes while sliding it to the left keeps the edits more subtle.

IDG
6. More options
Click on the “Redesign ALl” option to see additional choices like “Background Only” and “Foreground Only.” This lets you apply the new style to just the background or the main subject. Once you’re all set with your changes, click the “Save” button to save the edited photo.
IDG
7. Remove distracting areas
On PCs running Windows 11 24H2, the Photos app includes advanced AI capabilities, which allow you to remove distracting elements and have the background seamlessly filled in.
To use this feature, open the image as described in step one. Let’s use the picture of the knife below as an example. To remove the unwanted light reflection on the upper blade, switch to edit mode by clicking the “Edit” button, then select the brush icon to access the “Generative Erase” feature.
A new window will pop up, displaying your image on the left and the “Generative Erase” options on the right. Adjust the brush size and choose whether to apply those changes automatically. Brush over the area you want to remove, and the AI will intelligently fill in the space to match the background.
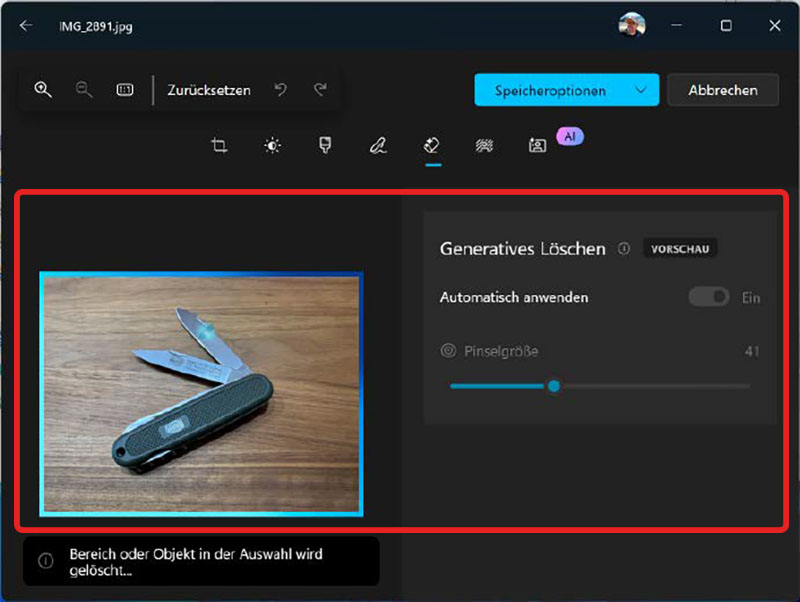
IDG
If you want more control, you can disable the “Auto Apply” option. This allows you to select multiple areas to erase before applying the changes.
Autentifică-te pentru a adăuga comentarii
Alte posturi din acest grup

At its own Brandcast 2025 event, YouTube presented a new way of inser

The CPU market experienced its most tumultuous quarter in some time,
About a week ago, I decided I would never buy another Ethernet cable,

I don’t know how things are for you, but in my house, I have little g
Alienware is a hot brand for gamers, whether we’re talking about lapt

Doom is here. Not that Doom ever really leaves us,